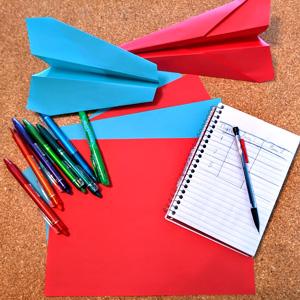
In this project, you make two different paper airplane designs and then test out each one to determine which one will fly the furthest.
Supplies:
- Two pieces of paper for airplanes
- Markers or crayons to decorate
- Pencil and paper to record your results
Directions:
Plane Design #1- Classic Glider
- Fold your paper hot dog style.
- Lay the paper out in front of you, portrait style.
- Fold the top-right corner to the center crease, lining up the edges and creating a triangle.
- Do the same thing with the left corner.
- Fold the right side again, along the crease.
- Do the same thing with the left side.
- Fold the plane inwards, in half, so the previous folds are on the inside.
- Fold back one side so the edges align.
- Flip and repeat with the other wing.
Plane Design #2- Speed Glider
- Fold your paper hot dog style.
- Lay the paper out in front of you, portrait style.
- Fold the top-right corner to the center crease, lining up the edges and creating a triangle.
- Do the same thing with the left corner.
- Fold the point of the plane down, creating a fold along the bottom of the corner triangles. The tip should be about ⅓ of the page from the bottom of the paper.
- Fold the top-right corner to the center, about one inch above the tip.
- Repeat with the left corner. This should create a small triangle at the point.
- Fold the small triangle up.
- Flip your plane over so that your folds are on the table.
- Fold your plane in half, left side onto its right, so the edges line up.
- Fold the top wing down so your edges align.
- Flip and repeat with the other wing. Once you have completed your planes. Test them out in an open space, like your backyard or the park. Make a chart and compare each of your planes and how far it flew each time.
Watch these airplane projects at: https://youtu.be/QdronFgR0Yc?list=PLxg4vmuqrAte4QgWzVQ7oInsSnnMkwcil


