Supplies:

  • A piece of 8 ½ X 11 white cardstock
  • Watercolor paints
  • School glue
  • Small bottle of black acrylic craft paint
  • Small paintbrush
  • Cup of water for rinsing your paintbrush

Directions:

  1. Print the half butterfly image provided (see below) onto your cardstock. Fold the cardstock exactly in half and then unfold to make a crease in the middle. (Alternate method: Draw a butterfly picture onto half of your cardstock with a pencil putting the exact middle of the butterfly on the crease.)
  2. Make black glue by adding black acrylic craft paint to a small bottle of plain school glue until a dark, black color is achieved. Mix well.
  3. Using the tip of the glue nozzle, trace a fine line of glue onto all of the printed lines of the butterfly picture. Don’t use too much glue! Put the glue on only the half of the picture with the copied lines. Leave the other half blank.
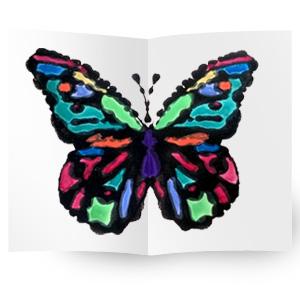
  4. Fold the paper in half again while the glue is wet and press together gently. Then open up the cardstock. The pattern you traced will now be duplicated on the other half of the cardstock.
  5. Let the glue dry. You can speed up the process by using a blow dryer on low heat to gently dry the glue.
  6. When the glue is completely dry, use your watercolors to color in all of the white sections. You can decide which colors to use!

Oops! My butterfly isn’t exactly the same on both sides. That’s okay! Real butterflies’ wings aren’t exactly the same on both sides, either! Just like with people’s faces, one side is slightly different than the other.

Watch this project at: https://youtu.be/Gimm3roL-3Q
Supplies:

  • Clean, clear jar with lid
  • Thin glow stick
  • Scissors
  • Table covering or tray
  • Glitter (optional)

Directions:

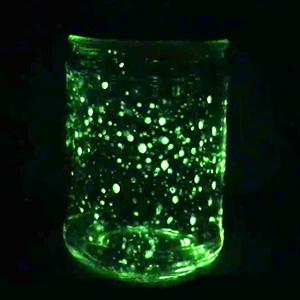
  1. With a grown-up's help, cut the tip off the glow stick.
  2. Place the open end of the glow stick in the jar and shake it back and forth so that it splatters. Turn the jar as you splatter.
  3. Add a small pinch of glitter, sprinkling onto the sides of the jar where the splatters are.
  4. Cover with lid and take into a very dark room.

Fireflies are not flies but beetles and do exist in Colorado! They hang out by permanent water sources like ponds, lakes, and streams.

Watch this project at: https://youtu.be/LRNWJVQRFYw

Supplies:

  • Embroidery or regular thread
  • Piece of cotton fabric or item made of cotton
  • Sewing needle
  • Scissors
  • Sharpie or other dark marker

Directions:

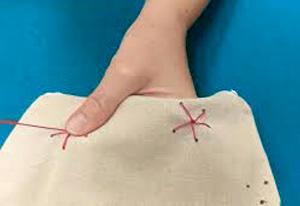
  1. Using a sharpie, mark dots on your fabric which will guide you as you sew your design.
  2. Thread your needle by pushing thread through the eye of the needle. Make a knot at the end of your piece of thread.
  3. Start on the wrong side of your fabric or on the inside of your item, and push the needle up through the fabric through your starting dot. Bring all the thread through, slowly, making sure the thread doesn't tangle.
  4. Go to the next dot in your design and push the needle down through that dot, bringing all the thread through again.
  5. Continue until your first design is complete. Finish your design by weaving your needle through the thread on the wrong side of the fabric several times, making a couple loops so the thread will be secure. Cut the thread.
  6. Re-thread for the next design or continue if you have enough thread on your needle.
  7. Enjoy your original design!

Watch this project at: https://youtu.be/5tX-0F2bAsA